Installation
Follow these three steps to install the OpenText plugin for Xima® Formcycle.
- Install the administration interface on the CMS server.
- Connect the OTWSMS project to Xima® Formcycle.
- Configure the content classes of the OTWSMS project
Requirments
- OpenText website management system, version 11 or higher
Installing the administration interface
Download the plugin xima-fc-otwsm and extract the files to the plugin directory where you installed OpenText, eg. C:\OpenText\WS\MS\ASP\PlugIns\. You will need the URL to this directory later.
Connecting Xima® Formcycle the OTSWMS project
Download the content classes FORMCYCLE Integrator and FORMCYCLE Configuration and extract them to a directory of your choice.
For each OTWSMS project you would like to connect to Xima® Formcycle, import both content classes into your OTWSMS project, or import it into your master project and inherit from it later.
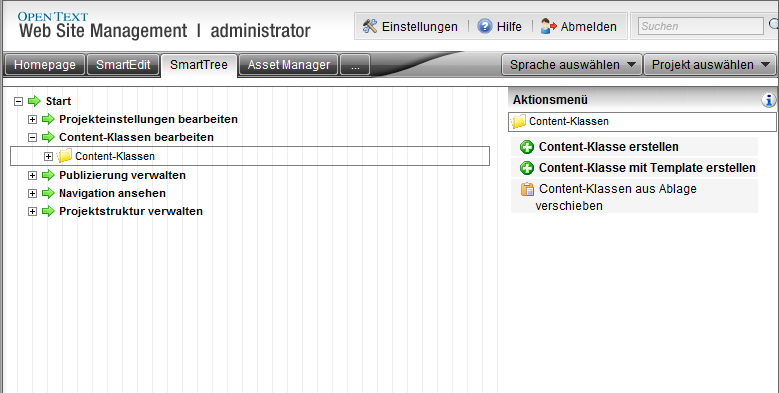
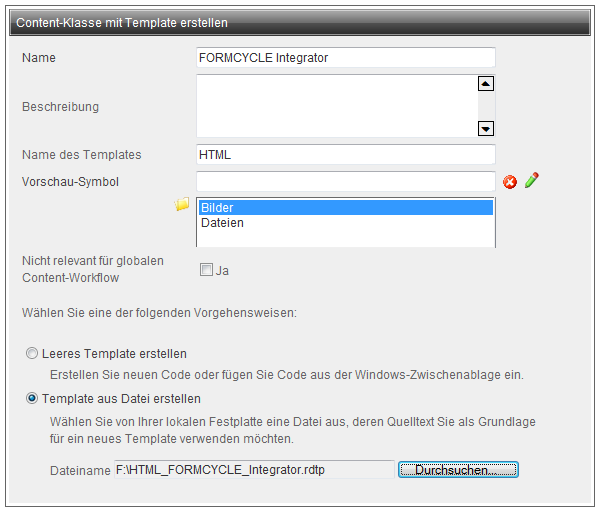
Create a new content class with a template and select one of the content classes FORMCYCLE Integrator or FORMCYCLE Configuration as the template file. You can given them any name you like, but for clarity, we recommend you name them FORMCYCLE Integrator or FORMCYCLE Configuration, respectively.
Configuring the content classes
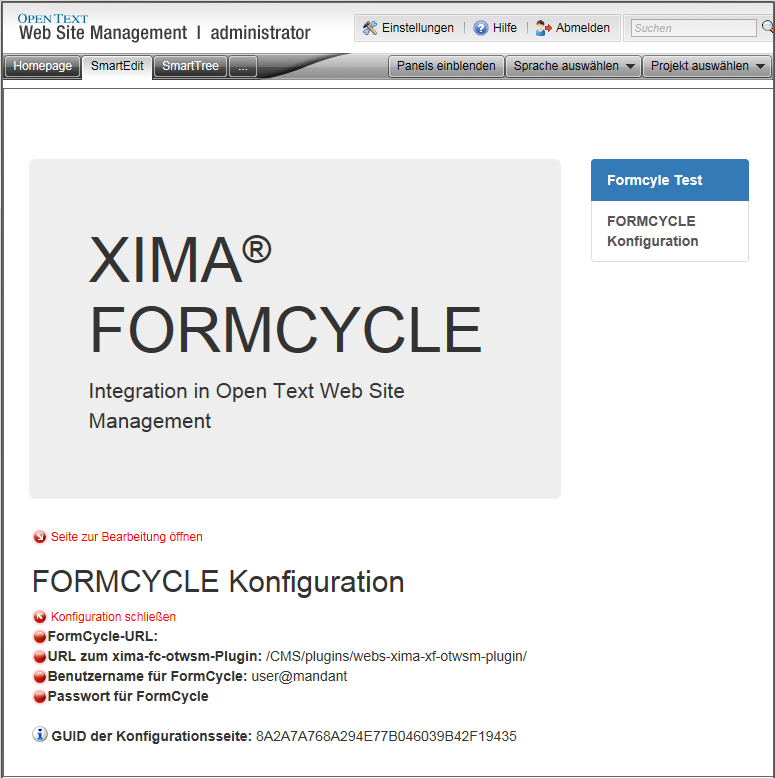
Create a new instance of the content class FORMCYCLE Configuration and open it with Smart Edit.
Enter the URL to Xima® Formcycle plugin, as well as your username and password.
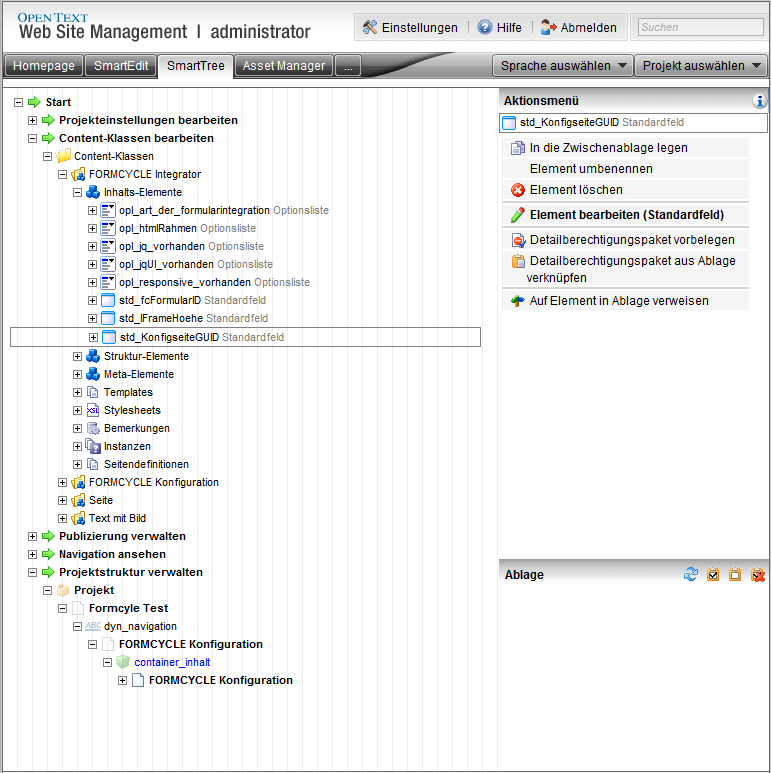
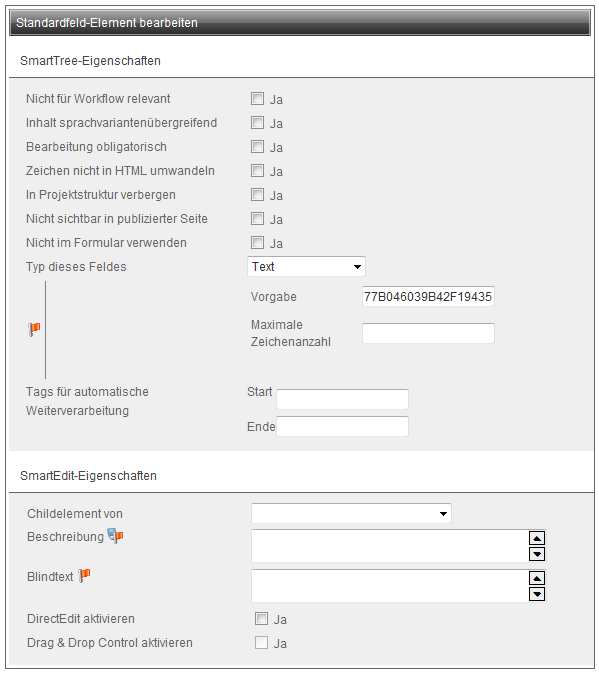
Open the content elements of the content class FORMCYCLE Integrator and select the element std_KonfigseiteGUID. Open the actions menu, click on edit element, and enter the GUID from the configuration page.
Open the structure elements of the content class FORMCYCLE Integrator and edit the default content class for the elements lnk_urlErfolg and lnk_urlFehler. These values are used as the redirect URL for forms that have been submitted successfully and unsuccessfully, respectively. Commonly you would select a different page from the navigation menu.