Invite persons
6.2.0+ This license module is subject to costs and available from Xima® Formcycle version 6.2.0 onwards.
Overview
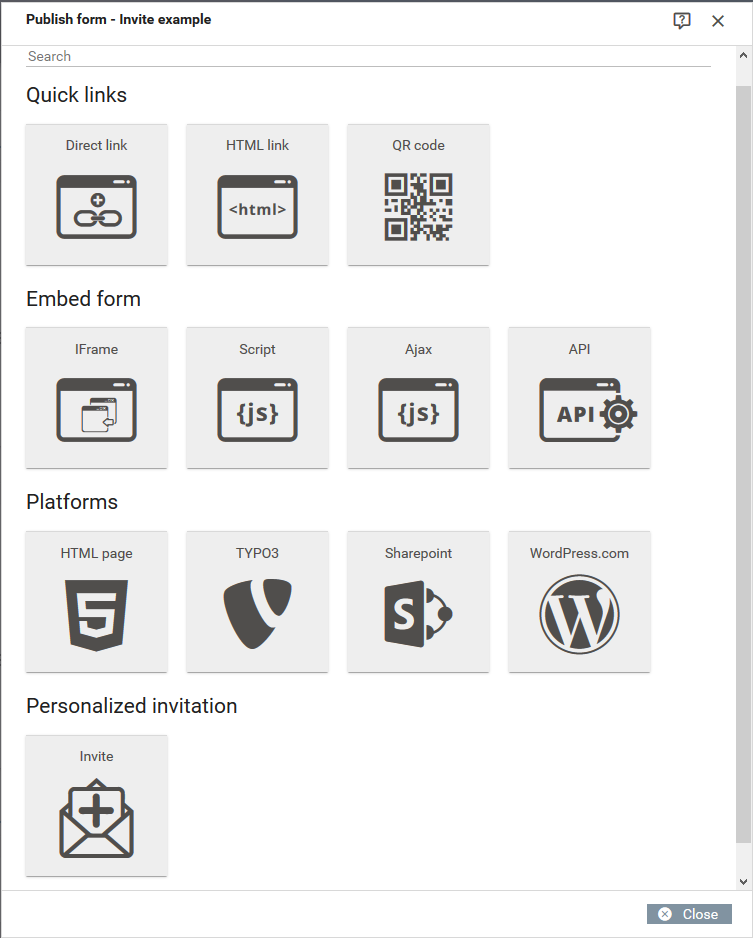
This feature lets you create multiple form records at once, with data taken from a CSV data source. Optionally, you can also send send an invitation email for each form record with a link to the newly created form record. The CSV data source with all information that should be used can be selected in the invitation dialog. The number of invitations that can be created at once depends on the license.
When you click the send button to start, a form record is created for each selected row in the data source. If configured, the form is prefilled with the data from the data source. Then, the form record is put into the chosen target state. Once the form record was created successfully, an email is sent to the email in the current row of the data source. The email may contain a link to the created form record that lets the recipient open the form, edit it and submit it. As the link contain a generated UUID, nobody without the link can open or view the form record.
Configuration
To start, you need at least one CSV data source in the backend. We recommend you to use a header for each column, as that makes it easier to identify what each column represents. The invitation can be configured via various required and optional settings. The dialog is divided into four parts:
Data source

- Data source (.csv)
- All existing CSV data sources are listed here. Select the data source which you would like to use.
- From (row)
- By default, all rows from the data source are used. If you only want to use a subset of row, select the starting row here.
- Number of entries
- By default, all rows from the data source are used. If you only want to use a subset of row, select the numbers of rows here. The maximum number may be restricted by your license.
Once you have selected a data source, a preview of the selected range of rows is shown below. The preview only shows the first and last selected row.
Email configuration

- Send an invitation email to each person in the above data source
- Activate this option to send an email for each created form record. The email address is taken from one of the columns of each row of the data source, see below.
- Email to (column in data source)
- Select the column of the data source that contains the email addresses.
- Email from
- Specify the sender address of the email.
- Sender name
- Specify the name of the sender of the email.
- Subject
- Specify the subject of the invitation email.
- Message
- The main message (body) of the email. This should contain a link to the form record. You can insert it the link with the following variable [%$FORM_INVITE_LINK%].
Prefill form
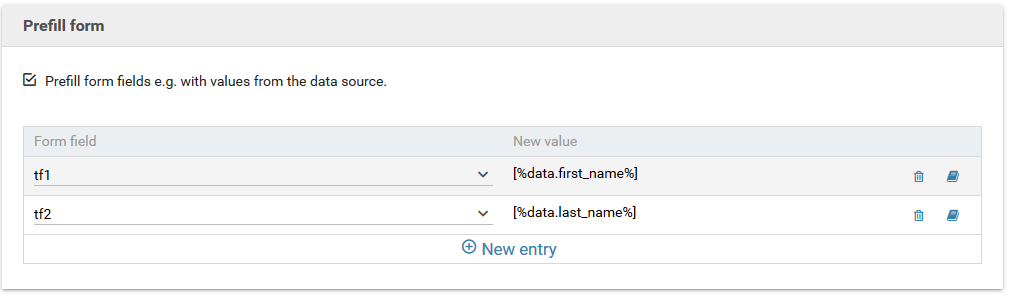
- Prefill form fields
- Activate this option to prefill the newly created form record with the data from the data source.
- Data mapping table
- Here you can choose a value for each form field. Select the form field to prefill in the first column. Enter the value for the form field in the second column. To insert a value from the data source, use a variable with the following format:
- [%$data.COLUMNNAME%] (if the CSV data source has named headers), or
- [%$data.col1%] (if it does not have named header).
- If you decide later you do not want to prefill a certain form field, click the recycle bin icon to delete the mapping.
Target state
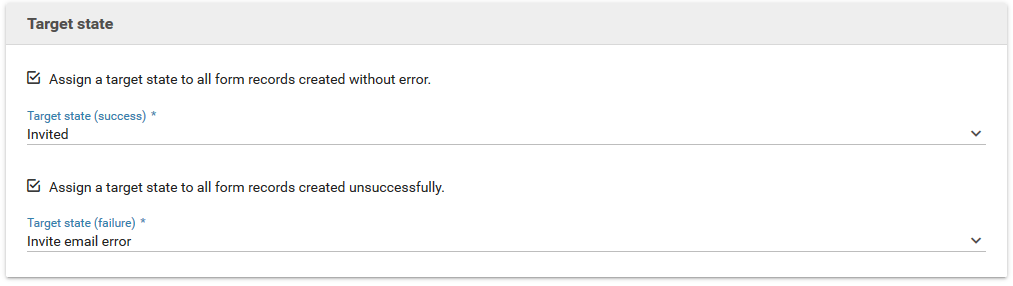
If required, you can select an initial state for the form record. In case you do not select a state here, the newly created form record will only marked as saved in the inbox.
- Assign a target state to all form records created without error.
- Activate this option and select a state for the form record that is used when the form record was created successfully.
- Assign a target state to all form records created unsuccessfully.
- Activate this option and select a state for the form record that is used when the an error occurred while the form record was created.