Installing an update
Content
[
Hide
]
The current version of Xima® Formcycle can be downloaded directly from our update page. If you should require them, we also provide access to previous versions of Xima® Formcycle.
For each version, you can find three different files:
- formcycle.war
- Contains the master server with the backend and the Xima® Formcycle Designer. For the most common use case, you only need this file.
- frontend-server.war
- Contains the frontend server that only serves and accepts forms.
- frontend-server-inbox.war
- The frontend-server with additional support for accessing the inbox on the frontend server.
For certain version, we also provide plugins you can download.
Step 1: Download the current version
The current version of Xima® Formcycle can be downloaded directly from our update page.
Step 2: Replace the old version
- Delete the old formcycle.war file from the Tomcat webapps directory. The unpacked directory will be deleted automatically.
- Upload or copy the new WAR file to the webapp directory.
Step 3: Database update
When you go to the login page, you may get a notifications that an update was found. If it does, sign in with a system administrator account and proceed as follows:
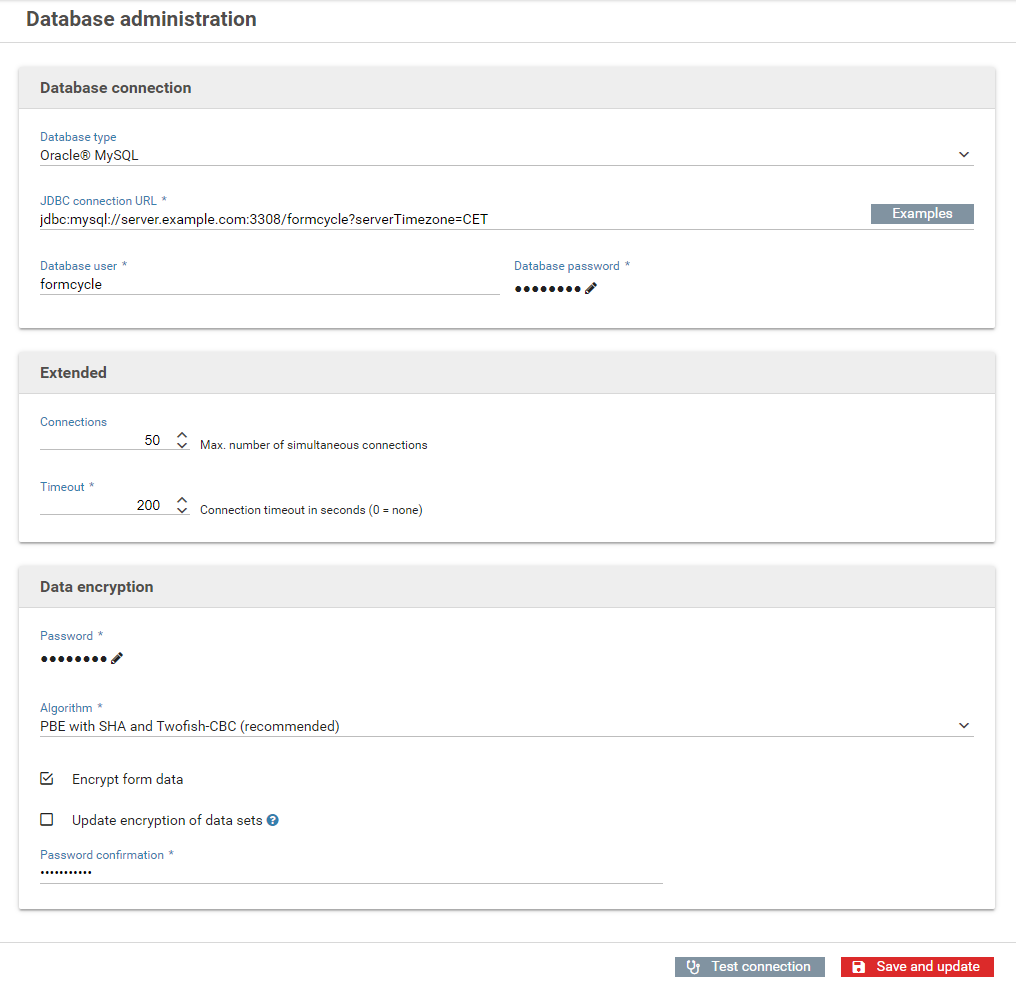
- After signing in, you will be redirected to the database administration page. Check the database details and click on next.
- All necessary updates for the database and the system are now performed.
- The update is done once all steps are complete.
You should logout and continue your work with a regular user account (and not as a system administrator).


