Usage
Prerequisite for the use is the correct Installation and Configuration of the plugin.
Procedure
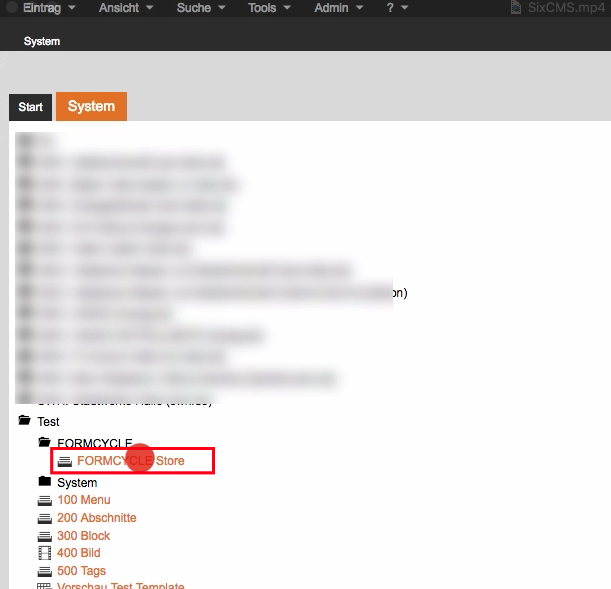
Go to the corresponding container in the navigation tree.
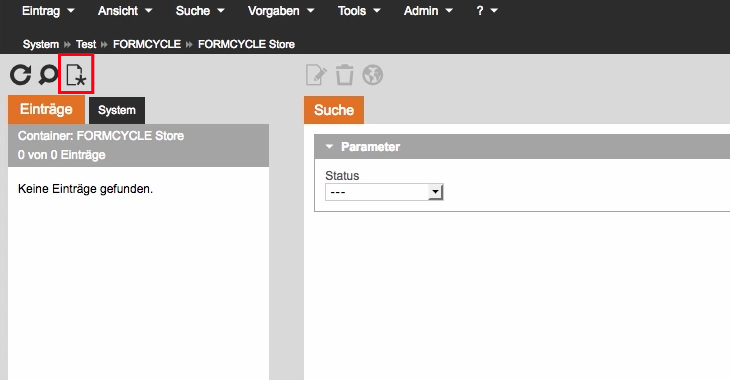
Create the form in the container by clicking on the icon New. The interface of the FORMCYCLE plugin opens.
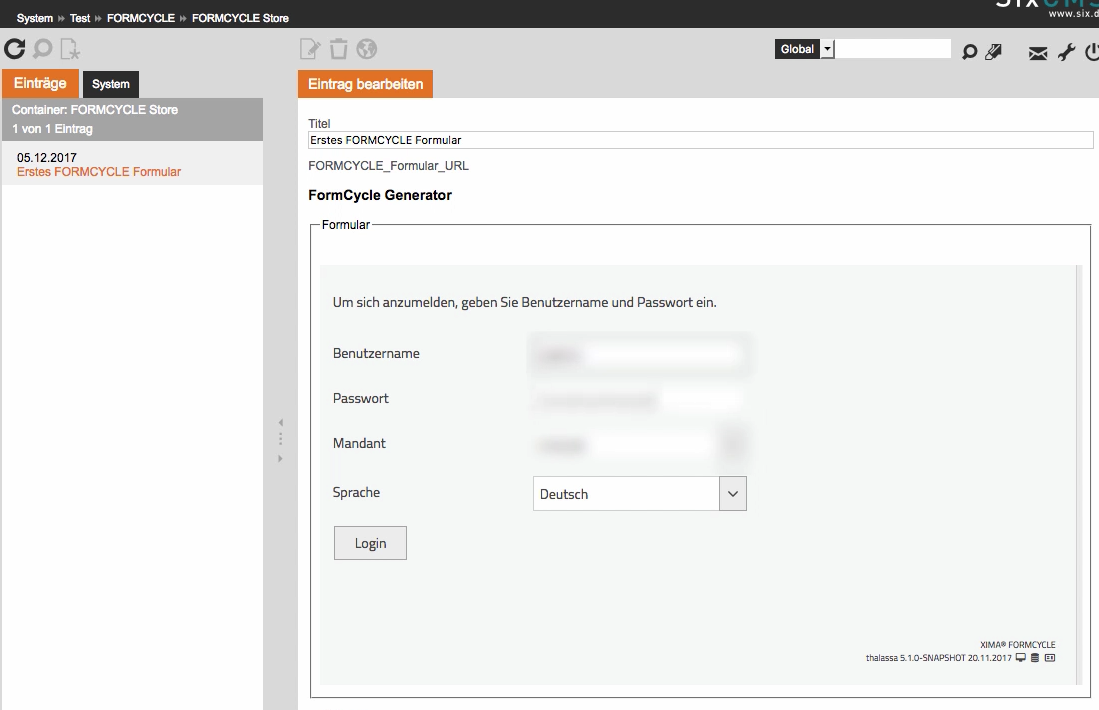
Here the FORMCYCLE login data are entered and confirmed via the Login button.
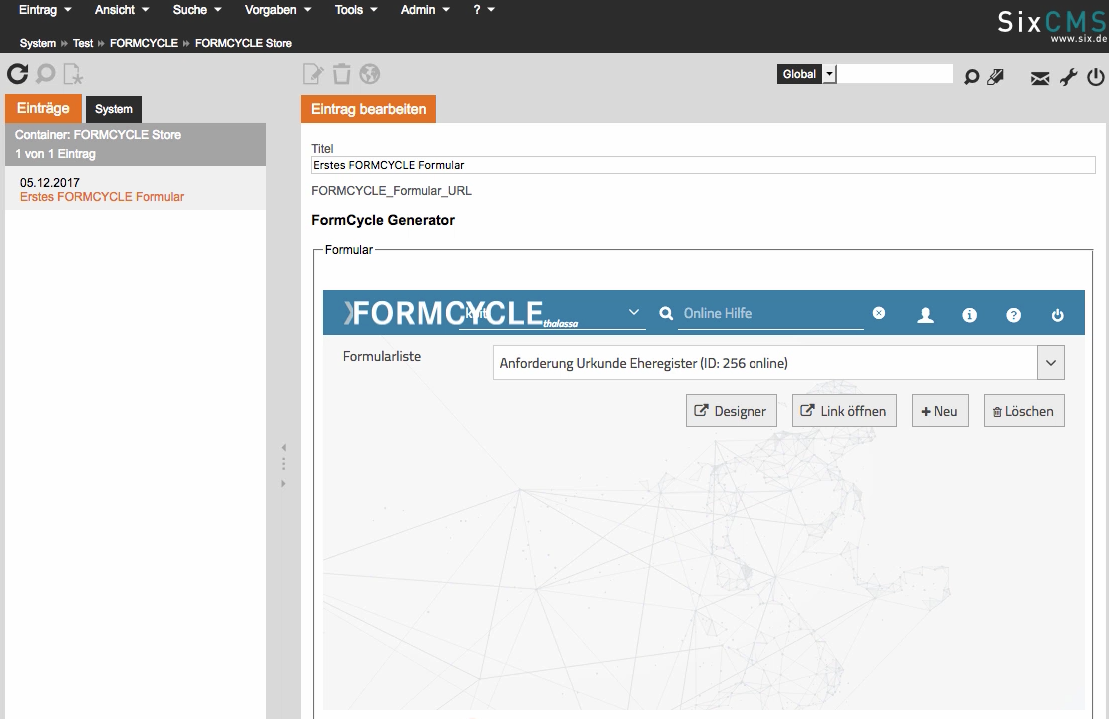
In this tab all available forms are displayed. Select the appropriate form. If you want to change the form content, click on the Designer button. The Xima® Formcycle Designer will now open in the new window with the selected form. For more information on working with the Xima® Formcycle Designer, see here.
CSS/JavaScript
See Installation
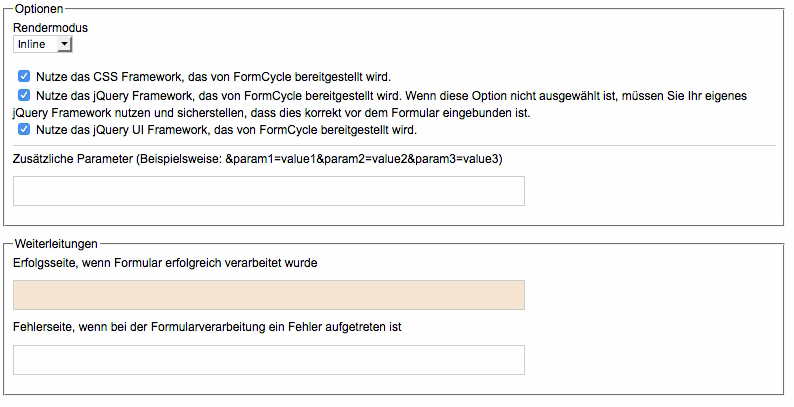
Returns/Response pages
After submitting the form (POST request), a response page must be displayed. Here you define the response page in case of successful and incorrect submission of the form data. If nothing is entered here, FORMCYCLE delivers the standard response pages.
The form is now ready and can be included in an appropriate template. The necessary template command is:
%CMS_PLUGIN_XIMA::getForm(url=%CMS_DATA(formcycle_formular_url) )
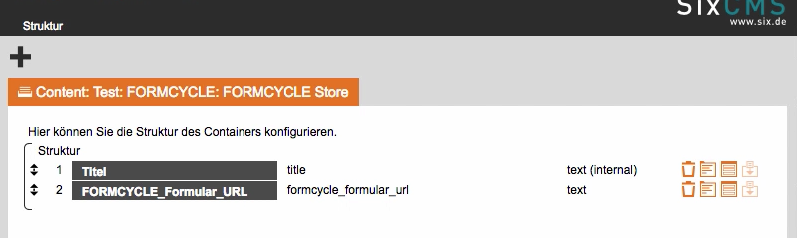
The name formcycle_form_url corresponds to the variable name defined under structure.