Sharepoint plugin
Adding the plugin to SharePoint
Step 1: Upload the plugin
- Download the plugin from the Customer-Cloud.
Step 2: Install the plugin for Xima® Formcycle

Sign in to Xima® Formcycle with the superadmin account and install the plugin by following these steps:
- Go to System -> System plugins.
- Click on new to add a new the plugin.
- Click on browse and upload the file plugin-sharepoint.jar.
- Select all clients to which the plugin should be available by changing the value for the plugin parameter fc.sharepoint.plugin.clients. Client names are separated by commas ,. You can use a star * as wildcard to select all clients.
- Save all settings by clicking on save.
- Beginning at version 2.0.0 of the plugin, an additional plugin parameter has been added, fc.sharepoint.plugin.client.required. When it is set to true, the plugin will not return any forms or form data unless the SharePoint plugin specifies at least one client.
Step 3: Upload the plugin to the SharePoint server
Upload the plugin (web service provider) to SharePoint.
Copy the file FormCycle.wsp to the SharePoint-Server. You can download the web service provider from our download page.
Step 4: Install the SharePoint plugin
- Open a SharePoint-Verwaltungsshell as an administrator with extended permissions.
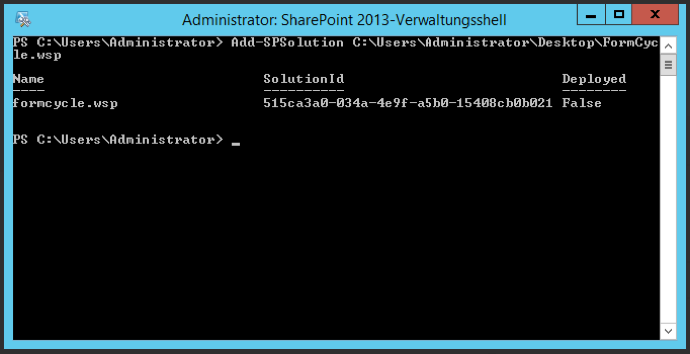
- When you are installing the plugin for the first time, run the command Add-SPSolution C:\Users\Administrator\Desktop\FormCycle.wsp. When installing an update of the plugin FormCycle.wsp, run the command run Update-SPSolution -Identity FormCycle.wsp -LiteralPath "C:\Users\Administrator\Desktop\FormCycle.wsp" -GacDeployment.
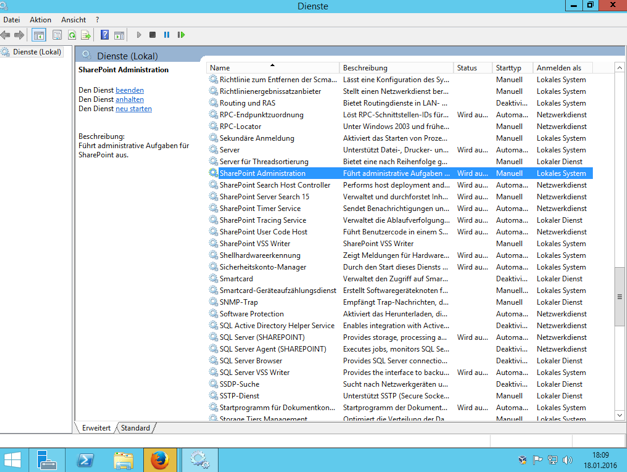
- Check whether the service SharePoint administration is running.
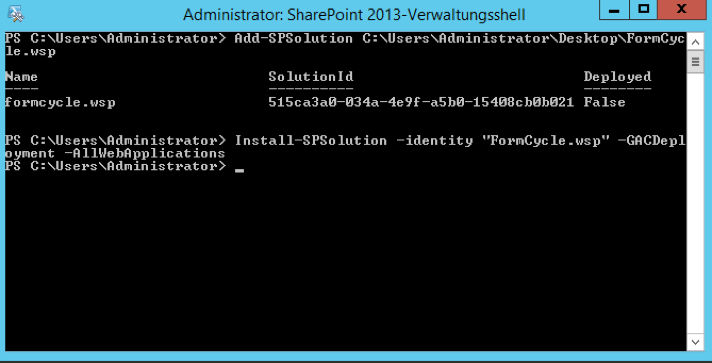
- Run the command Install-SPSolution -identity "FormCycle.wsp" -GACDeployment -AllWebApplications.
Step 5: Edit the URL to the Xima® Formcycle Server
Go to the propertyBag and modify the the parameter xima.formcycle.server.url so that it points to the URL to the Xima® Formcycle Server. How to set this parameter depends on whether you are using SPWeb or SPSite.
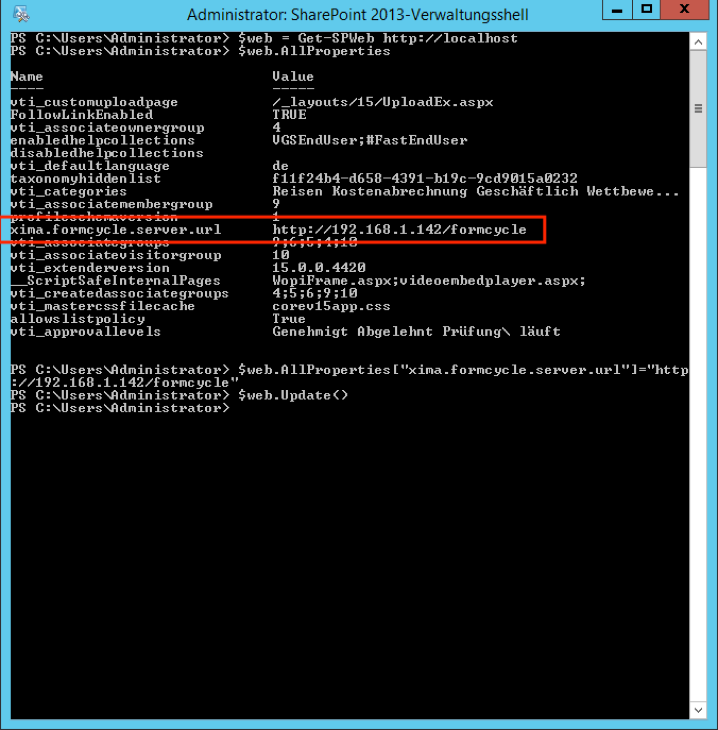
For SPWeb
- Set the URL of the site collection: $web = Get-SPWeb http://sharepoint-server
- Seth the URL to the Xima® Formcycle Server: $web.AllProperties["xima.formcycle.server.url"]="http://formcycle-server/formcycle"
- Beginning at version 2.0.0 of the plugin, you can set the name of client to be used in SharePoint: $web.AllProperties["xima.formcycle.server.client"]="meinMandantName"
- Update the settings: $web.Update()
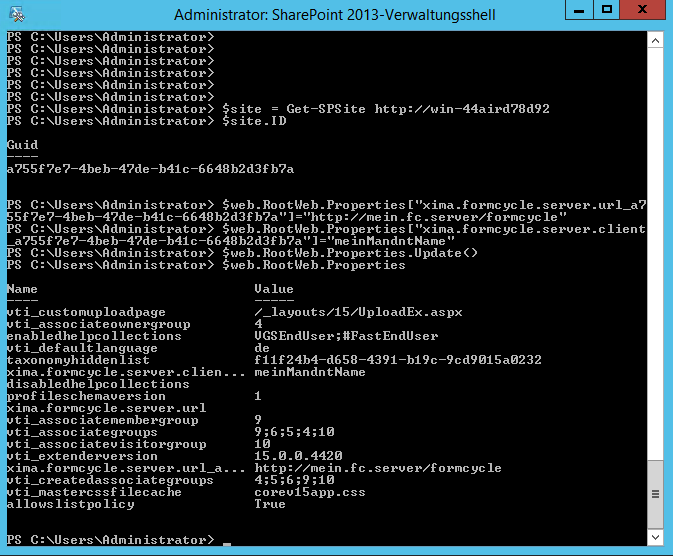
For SPSite
- Set the URL to the site collection: $site = Get-SPSite http://sharepoint-server/siteCollection
- Get the side ID: $site.ID. Take note of this ID as you will need it shortly. This ID is a unique key of the available SPSites on the farm.
- Set the URL to the Xima® Formcycle Server. Replace the part marked in red with the ID from the previous step.
$site.RootWeb.Properties["xima.formcycle.server.url_IdDerSPSite"]="http://formcycle-server/formcycle"
Example: $site.RootWeb.Properties["xima.formcycle.server.url_a755f7e7-4beb-47de-b41c-6648b2d3fb7a"]="http://formcycle-server/formcycle/" - Beginning at version 2.0.0 of the plugin, you can set the name of the client to be used in SharePoint. Replace the part marked in red with the ID from step 2.
$site.RootWeb.Properties["xima.formcycle.server.client_IdDerSPSite"]="meinMandantName"
Example: $site.RootWeb.Properties["xima.formcycle.server.client_a755f7e7-4beb-47de-b41c-6648b2d3fb7a"]="demoMandant" - Update the settings: $site.RootWeb.Properties.Update()
Using the plugin
Setting up the web part for the plugin
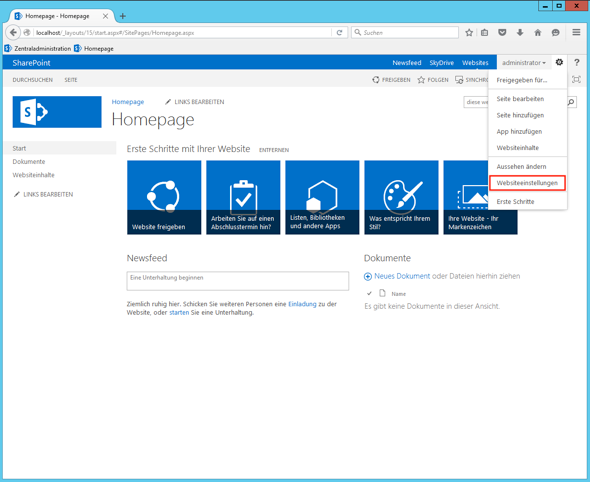
- Click on web page settings and add the Xima® Formcycle web part to your web part gallery.
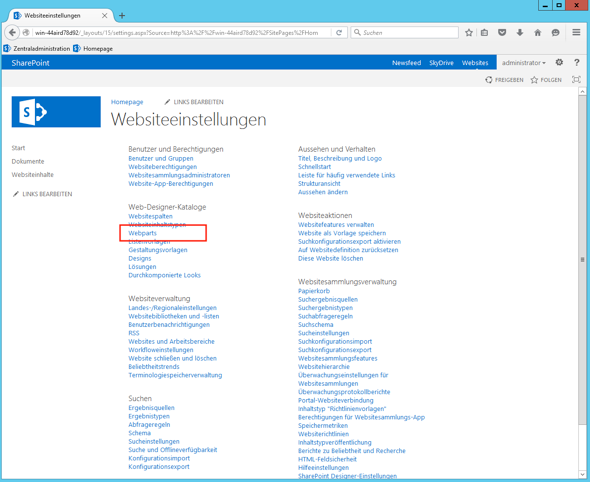
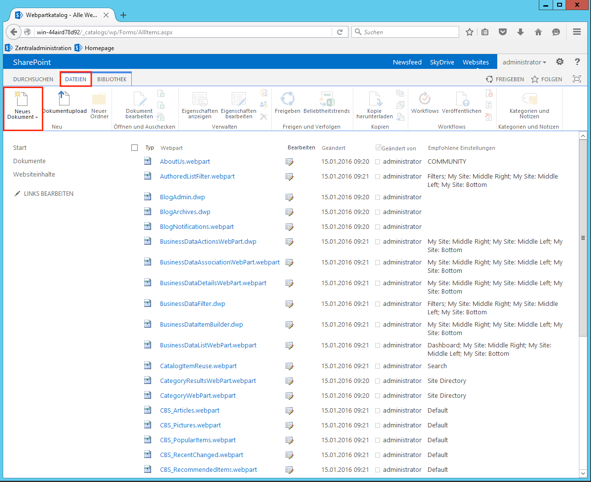
- Go to web designer galleries and click on web parts.
- Click on files New document.
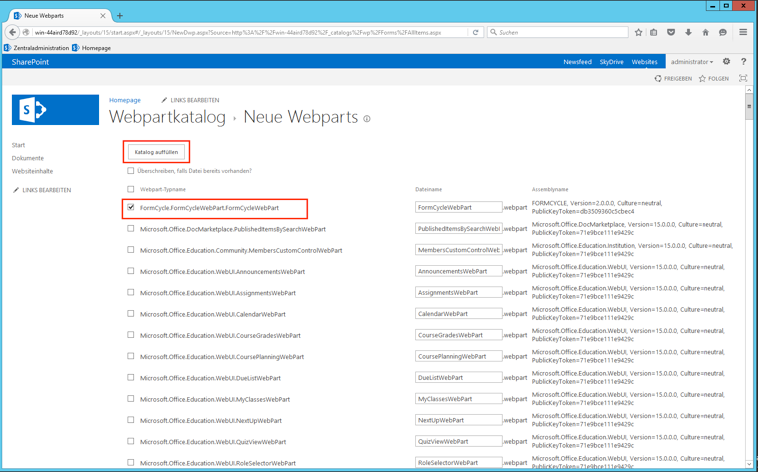
- Select FormCycle.FormCycleWebPart.FormCycleWebPart and click on Populate gallery.
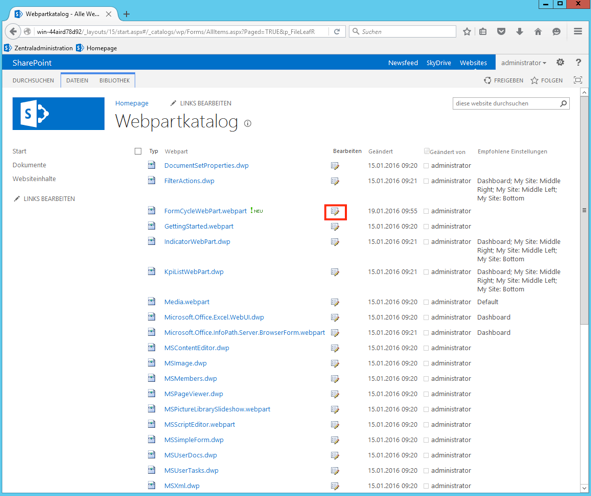
- Open the web part details.
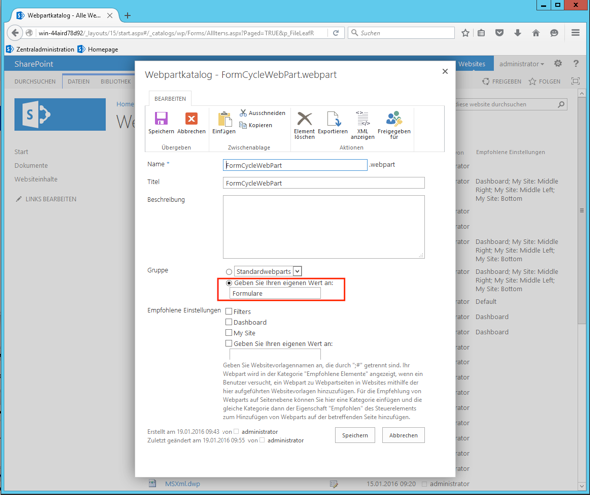
- Set a group for the web part, eg. forms.
Creating a SharePoint document with a form
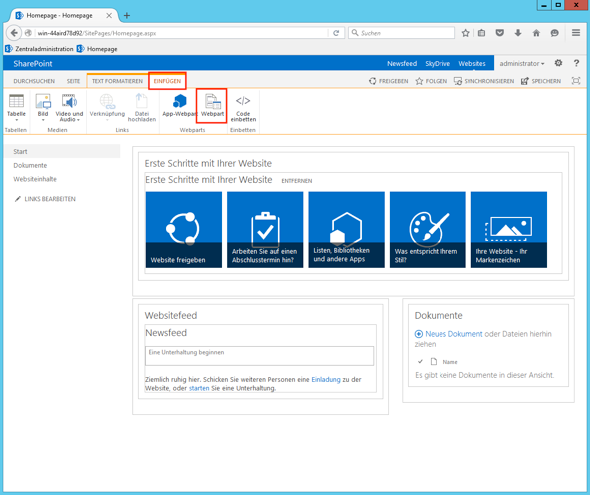
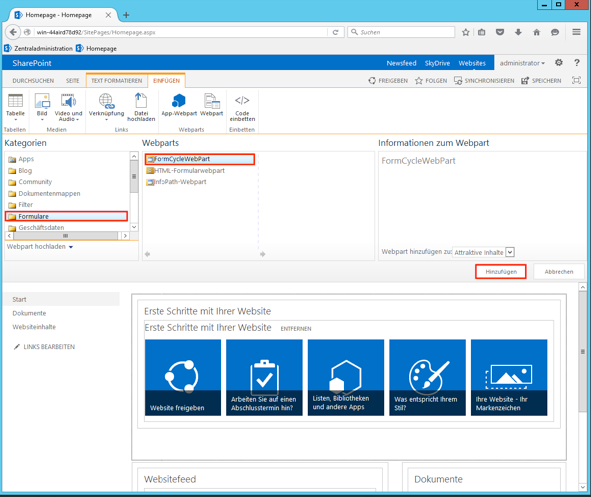
- Go to the document to which you would like to add a Xima® Formcycle form, and click on Edit Insert Web part.
- Select the group you set for the web part and click on Add.
The plugin has now been added to the document and allows for Xima® Formcycle forms to be integrated into SharePoint.
Copying form data to a SharePoint list
Form data that has been submitted can be copied to a SharePoint list when necessary.
See the help pages on SharePoint lists for further instructions.